



What to Expect on Ductless Mini-Split Installation Day in York and Lebanon PA
Ductless mini-split installation is one of the most searched HVAC services in York and Lebanon County, and for good reason. Mini-splits provide year-round heating and cooling in spaces without ductwork and deliver much better efficiency than window units or electric baseboard heat. But the installation process is unfamiliar to most homeowners, and knowing what to expect makes the experience go smoothly from first tool to final test.
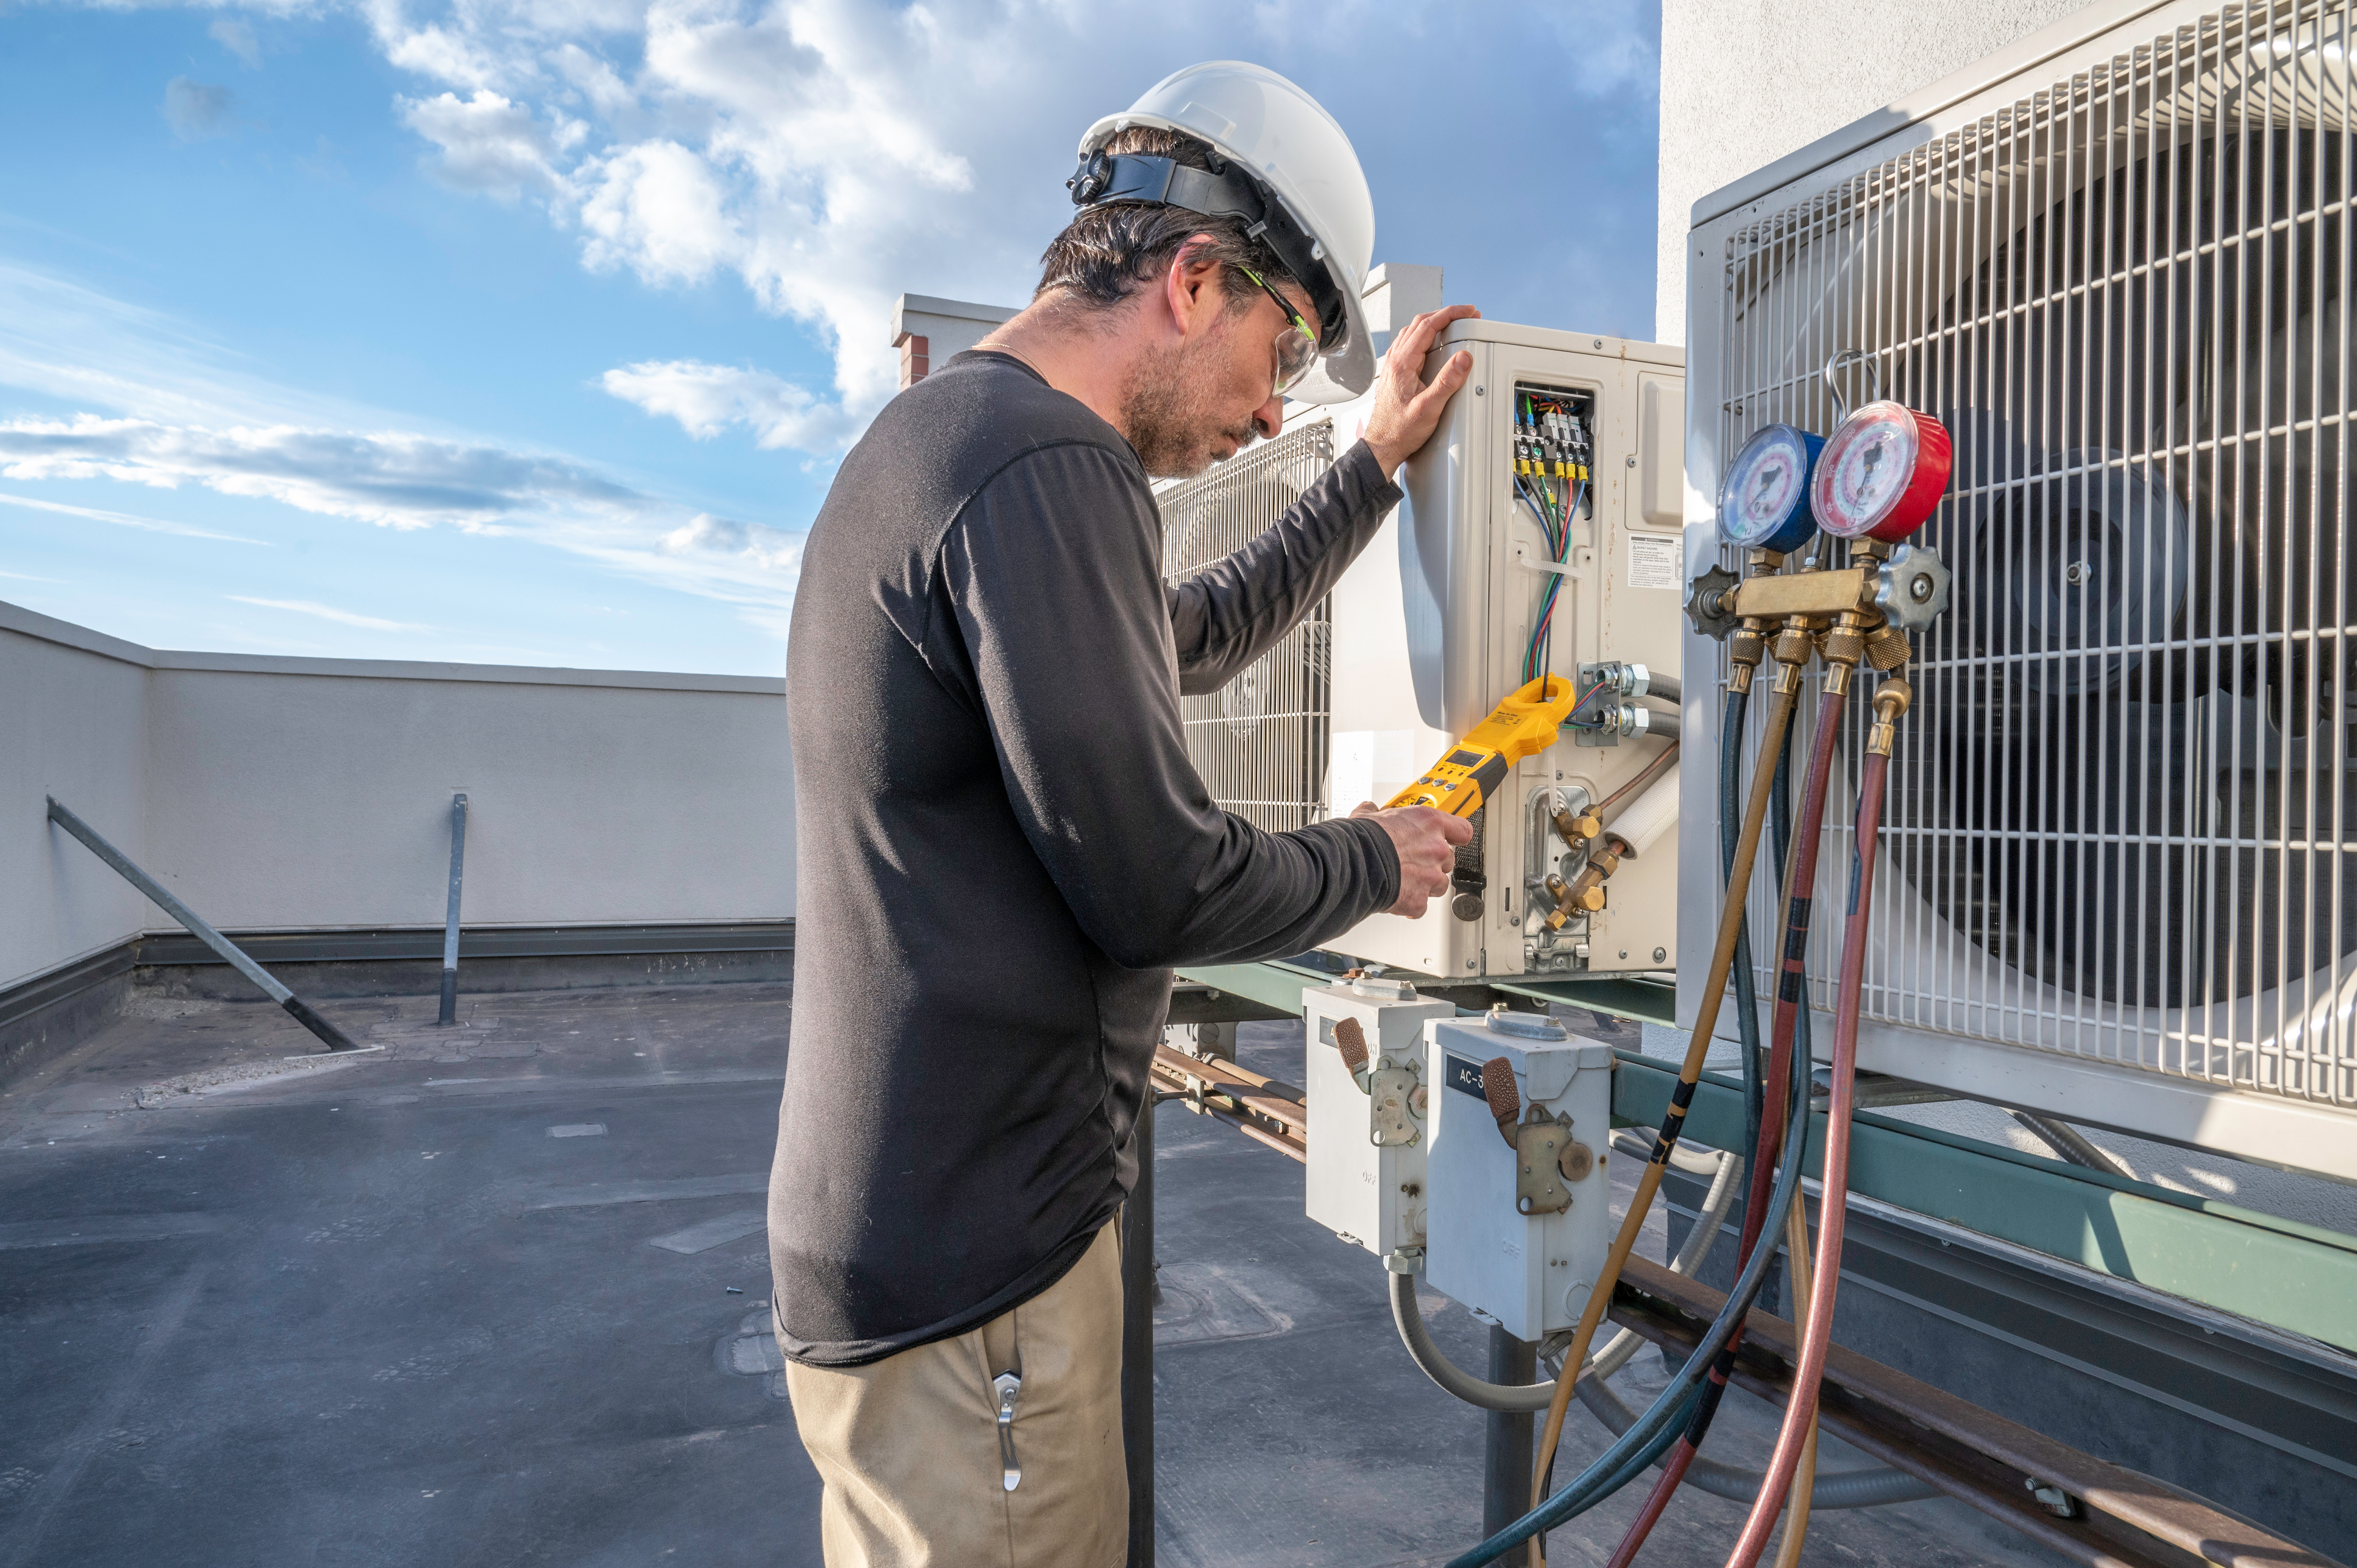
Here is a complete walkthrough of what happens on mini-split installation day, from when the technicians arrive to when they test the system in your presence before leaving.
Before Installation Day: What Gets Decided During the Estimate
By the time installation day arrives, several key decisions should already be made. During the estimate visit, the technician selects the correct equipment size using load calculation for your space, identifies the optimal location for the indoor air handler, determines where the outdoor unit will be mounted or set, maps the refrigerant line set route through the wall and exterior, and identifies the electrical requirements.
The Air Conditioning Contractors of America (ACCA) Manual J load calculation is the industry-standard method for sizing ductless equipment. A unit sized too large short-cycles and controls humidity poorly. A unit too small runs continuously and never achieves setpoint. The estimate visit is where sizing accuracy is established.
How Long Does Mini-Split Installation Take?
A single-zone mini-split installation typically takes four to six hours from arrival to final system test. Multi-zone installations with two or more indoor heads take longer, typically one full day or parts of two days depending on the number of zones and the complexity of routing refrigerant lines through finished spaces.
The technician or technicians handling the installation can give you a realistic time estimate when they arrive based on the day’s specific conditions. Ask them at the start of the day what the expected completion time is so you can plan accordingly.
Step 1: Protecting the Work Area
The first thing a professional installation crew does is protect your floors and any furniture near the work area. Drop cloths are placed under the indoor unit location, and the outdoor work area is assessed. If pets or young children need to be kept clear of the work zones, now is the time to set that up.
Step 2: Mounting the Indoor Air Handler
The indoor wall-mounted air handler is installed on a mounting plate that is leveled and secured directly to wall studs. Proper leveling matters: the unit must be pitched slightly toward the condensate drain outlet to allow gravity to move moisture out of the unit correctly. A unit installed perfectly level or tilted the wrong direction will have drainage problems.
The mounting plate is marked for the wall penetration hole location, typically three inches in diameter, that will accommodate the refrigerant lines, condensate drain hose, electrical wiring, and communication cable bundled together in a line set cover or conduit.
Step 3: Drilling the Wall Penetration
A core drill creates the hole through the exterior wall at a slight downward angle toward the outside. The downward angle ensures any moisture that enters the penetration drains outward rather than into the wall cavity. The location is chosen to minimize the length of the exterior line set run and to avoid wall studs, insulation batts, and any in-wall electrical or plumbing.
The hole is sealed around the line set bundle with foam sealant or a purpose-built wall sleeve after the refrigerant lines are run, preventing air infiltration and pest entry.
Step 4: Running the Line Set
The line set consists of two refrigerant lines (a smaller liquid line and a larger suction line), a condensate drain hose, low-voltage communication wire, and electrical supply wiring, all bundled together and run from the indoor unit through the wall penetration to the outdoor unit.
On the exterior, the line set is routed in a line set cover, sometimes called a chase or raceway, that protects the copper lines from UV exposure, physical damage, and weather. Line set covers are typically painted or chosen in a color that blends with the exterior siding.
The length and routing of the line set is an important spec. Manufacturers specify maximum line set lengths and height differentials between the indoor and outdoor units. Exceeding these specifications reduces performance and can void the equipment warranty.
Step 5: Setting and Connecting the Outdoor Unit
The outdoor condenser unit is placed on a concrete pad, composite pad, or wall-mounted bracket at the exterior wall. It must be level, positioned for adequate airflow clearance on all sides per manufacturer specification, and located where it will not be buried in snow or blocked by landscape features.
The refrigerant line flare connections are made at the outdoor unit’s service valves, the condensate drain is terminated at an appropriate drainage point, and electrical supply is connected from the disconnect box to the unit.
Step 6: Pressure Testing and Evacuation
Before any refrigerant is introduced, the technician pressure tests the refrigerant circuit with nitrogen to confirm there are no leaks at the flare connections or line fittings. This is a critical quality check. A leak discovered now takes minutes to repair. A leak discovered after the system is charged requires recovering the refrigerant first, which adds time and cost.
After passing the pressure test, the technician evacuates the line set using a vacuum pump to remove all air and moisture from the refrigerant circuit. Moisture in the refrigerant circuit causes acid formation that degrades the compressor oil and eventually destroys the compressor. Proper evacuation to a deep vacuum is a non-negotiable step in any professional installation.
Under EPA Section 608 regulations, all refrigerant handling including evacuation and charging must be performed by EPA-certified technicians.
Step 7: Refrigerant Charging
Mini-split systems are typically pre-charged at the factory with enough refrigerant for a standard line set length. If the line set is longer than the standard specification, additional refrigerant must be added per the manufacturer’s charging chart. The technician verifies operating pressures and temperatures after startup to confirm the charge is correct for current conditions.
Step 8: System Startup and Testing
With all connections made and the system charged, the technician powers on the unit and runs it through a complete operational test in your presence. This includes:
• Cooling mode: verifying the unit reaches the set temperature and that the correct temperature differential exists across the indoor coil
• Heating mode: verifying heat pump operation and correct heat delivery
• All fan speeds: confirming each speed setting responds correctly to the remote or control signal
• Defrost mode if applicable: verifying defrost control function on the outdoor unit
• Condensate drainage: confirming water is draining from the indoor unit as expected
• Audible check: listening for any abnormal sounds that might indicate a mechanical or refrigerant issue
Step 9: Walkthrough and Remote Setup
Before leaving, the technician walks you through the remote control or app interface, explains the available operating modes and fan speed settings, shows you how to access and clean the washable filters, and advises on the cleaning interval. If a Wi-Fi adapter is included or installed, they configure the app connection on your phone.
Ask the technician what the filter cleaning interval should be for your specific situation. In most central Pennsylvania homes with pets or higher dust levels, monthly rinsing of the washable filters is appropriate.
What Homeowners Can Do to Prepare
- Clear the indoor unit wall location and the floor below it so technicians can work without moving furniture.
- Ensure the outdoor installation location is accessible, with any vegetation near it trimmed back.
- Confirm the electrical panel is accessible and you know the location of the main breaker.
- Secure pets in a room away from both the indoor and outdoor work areas for the duration of the installation.
- Plan to be available for the final walkthrough and system test at the end of the day.
JX Pro Heating and Cooling has installed single-zone and multi-zone ductless mini-split systems throughout York, Lebanon, and surrounding Pennsylvania communities for over 15 years. As a certified Rheem Pro Dealer and licensed contractor (License PA203730), our installations are fully pressure tested, properly evacuated, and commissioned in your presence before we leave. With a 5-star Google rating across 132-plus verified reviews, JX Pro is the team York and Lebanon homeowners trust for mini-split work. Read reviews at Google or verify our BBB accreditation at the Better Business Bureau.
To schedule a free in-home mini-split estimate, call 717-600-4220 or visit our ductless mini-split service page. We also install ductless systems for heating-only applications through our ductless heating service. Free estimates throughout York, Lebanon, Lancaster, Dauphin, and Berks Counties, PA.